

Connect to your project
One authorization connects the panel to your account. It then reads each project’s own API key by itself — there is nothing else to find or paste.
Authorize
Section titled “Authorize”-
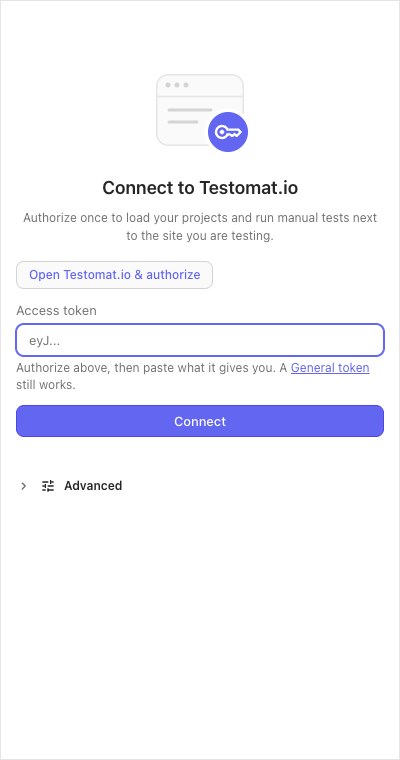
Click the extension icon. On first run the panel opens its Connect to Testomat.io screen.
-
Press Open Testomat.io & authorize. Testomat.io opens in a new tab — sign in there if you are not — and shows you a token.
-
Copy the token, paste it into Access token, press Connect.
-
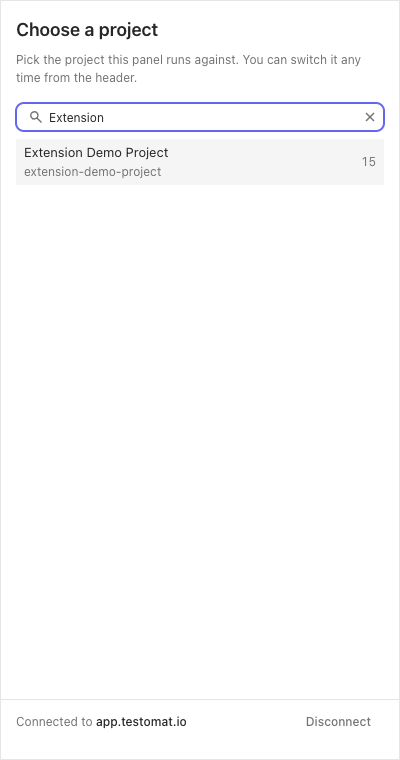
The Choose a project screen lists your projects: search, click one, done. You can switch projects any time from the panel header.
A General token (Testomat.io → Account → Access Tokens) works in the same field.
Self-hosted instance
Section titled “Self-hosted instance”Using your own Testomat.io server? Before authorizing, open Advanced and
put its https:// URL into Instance — the authorize button follows that
field. HTTP URLs are refused.
Check or end the connection
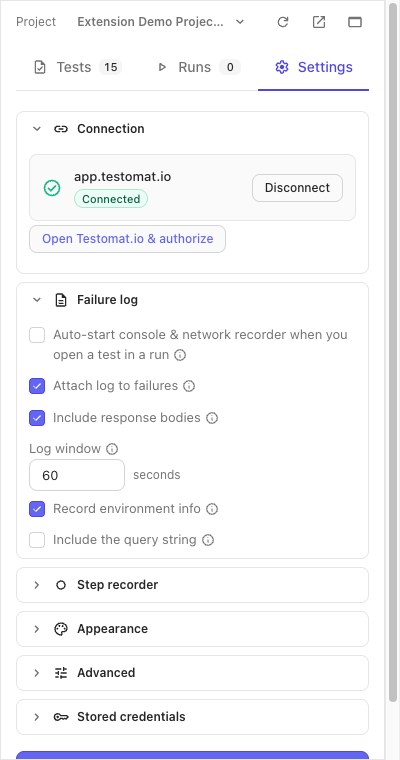
Section titled “Check or end the connection”Settings → Connection shows the card: which host, the Connected badge, and the current project. Disconnect forgets the instance and returns the panel to the connect screen.
Basic mode
Section titled “Basic mode”Normally you never see this. But when the panel loses its session — an old token, for example — it does not break, it switches to basic mode: runs, statuses and comments keep working, while finish run, priority, custom statuses and assignee switch off, and ticked steps stay only in the panel. A banner says it happened: sign in to Testomat.io in this browser, press Refresh on the banner, and the full panel is back.
If it didn’t work
Section titled “If it didn’t work”- “Token rejected by …” — the token is stale; press Open Testomat.io & authorize again and save the new one.
- “Instance URL must be https://” — the panel only connects over HTTPS.
- “Your access to this project is read-only” — your role in the project can’t write results (or the project is archived); pick another project or ask a project owner.
- A “Basic mode” pill in the run view — see Basic mode above.